How to Replace Gasketing & O-Rings
O-ring gasket material is retained in dove tail grooves around the sealing surfaces and corner discharge eyes. The gasket is installed into the grooves so that approximately .030″ to .060″ of the gasket is protruding out of the groove providing the plate to plate seal.
When installing the gasket, make sure the gasket end is cut square.
Insert the gasket starting at the bottom center of the filter plate using a caulking hammer. Many installers will stretch the gasket which reduces the cross section sizing making it easier to insert. However, by stretching it for easier insertion, it has a tendency to creep and open the butted joints of the gasket and cause a leak.
Push the gasket into the groove around the outer edge of the plate until it mates up at the center of the plate. Cut the gasket approximately 1/2″ to 1″ longer than required, cutting the end square.
Apply one or two drops of Eastman 910 (or super glue) to one end of the gasket and quickly join it to other end and hold it under hand pressure for approximately 30 seconds.
Then, crowd the excess 1/2″ to 1″ of gasket into the groove to insure fullness of gasket material.
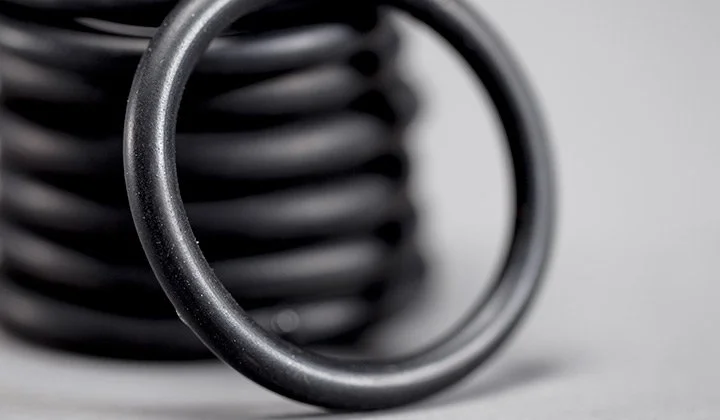
The same procedure applies for the discharge eye (ring) gaskets including the bonding together of the butted ends.
Gasket life will depend on many factors, such as length of filtration cycle, temperature, and excessive closing forces.
Gasket replacement should take place if the gasket appears to be flush with the plate or if the plate starts to leak during operation.